MicrosoftのSQL Serverのインストールする方法ってどうやるのかな?
設定方法も分からないや。
そうだ!ふくろう先生に聞いてみよう。
ふくろう先生。こんにちは。
MicrosoftのSQL Serverをインストールする方法ってどうやればいいですか?
設定方法も分からないので教えて下さい。
ナマケモノ君。こんにちは!
今回は、MicrosoftのSQL Serverをインストール方法と環境設定だね。
わかったよ。
次の手順に従っていけば、出来るよ。
今回の最終目標
- MicrosoftのSQL Serverのインストールを完了させて標準的な設定を行います。
用意するもの
- CentOS7 がインストールされているPC(Server)を1台。
概要
- MicrosoftのSQL Serverをインストールします。
- インストールしたMicrosoftのSQL Serverの初期設定を行います。
作業手順
CentOS バージョン7のインストールが、まだの方はこちらを参照して下さい。
step.1
まず、スーパーユーザーに変更します。
su –

step.2
パスワードを聞いてくるのでスーパーユーザーのパスワードを入力してね。

step.3
curlを使用してMicrosoft Red Hat リポジトリ構成ファイルをダウンロードするよ。
curl -o /etc/yum.repos.d/mssql-server.repo https://packages.microsoft.com/config/rhel/7/mssql-server-2017.repo

step.4
リポジトリのダウンロードが完了すると下記画面のように表示されるよ。

step.5
mssql-server をインストールするよ。
yum install -y mssql-server

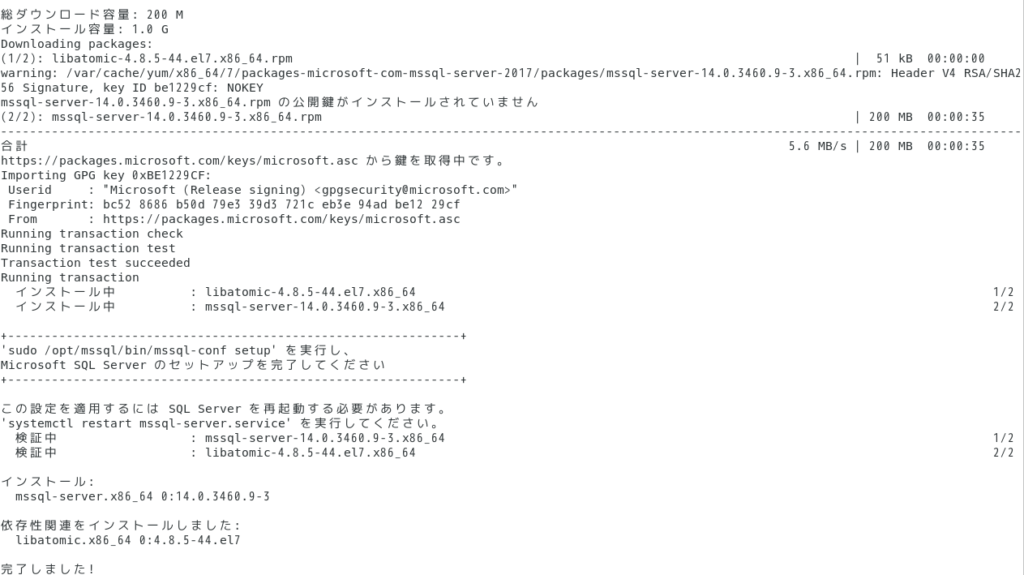
step.6
mssql-serverのインストールが完了すると、下記画面のような内容が表示されるよ。
step.7
次にmssql-serverのセットアップに移るよ。
/opt/mssql/bin/mssql-conf setup

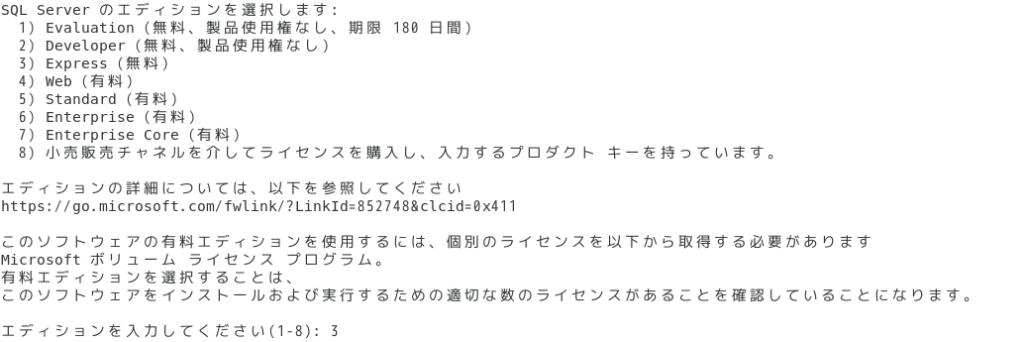
step.8
エディションをきかくれるので、今回は『3)Express(無料)』を選択するよ。
step.9
ライセンス条項の同意を求められるので『Yes』を入力してね。

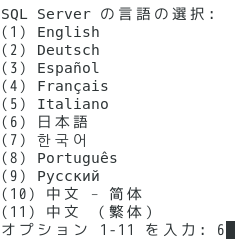
step.10
使用する言語を聞いてくるので、もちろん『(6)日本語』を選択するよ。
step.11
管理者パスワードの設定するので任意のパスワードを入力してね。

step.12
先程入力した管理者パスワードを再度入力してね。

step.13
画面が移って、サーバーの構成がはじまるよ。

step.14
下記の画面のように『セットアップは正常に完了しました。SQLServerを起動します。』と移っていきます。

step.15
ステータスの表示させます。
systemctl status mssql-server

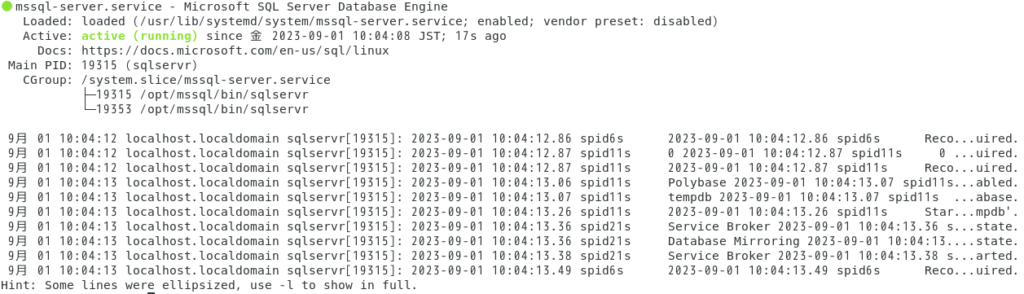
step.16
下記のようなステータス画面が表示されれば大丈夫です。
step.17
次は、ファイヤーウォールの設定を行うよ。
firewall-cmd –zone=public –add-port=1433/tcp –permanent

step.18
ファイヤーウォールの設定が完了すると『SUCCESS』が表示されるよ。

step.19
先程設定した内容を再度読み込むためにリロードコマンドを実行。
firewall-cmd –reload

step.20
ファイヤーウォールのリロードが完了すると『SUCCESS』が表示されるよ。

step.21
Microsoft Red Hat リポジトリ構成ファイルをダウンロードするよ。今度は、コマンドライン用のツールだよ。
curl -o /etc/yum.repos.d/mssql-server.repo https://packages.microsoft.com/config/rhel/7/prod.repo

step.22
Microsoft Red Hat リポジトリ構成ファイルのダウンロードが完了すると、下記画面が表示されるよ。

step.23
前のODBCをリムーブするよ。
yum remove unixODBC-utf16 unixODBC-utf16-devel

step.24
今回こちらの環境でが削除対象は無かったようです。

step.25
新しいODBCをインストールするよ。
yum install -y mssql-tools unixODBC-devel

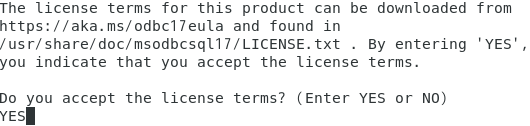
step.26
ライセンス状況の確認画面が表示されるので『Yes』を押下してね。
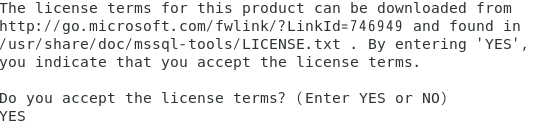
step.27
もう一つのライセンス条項も同じように対応してね。
step.28
『完了しました!』でODBCのインストールは完了です。

step.29
パスの設定を2つ行います。
まず最初のパスです。
echo ‘export PATH=”$PATH:/opt/mssql-tools/bin”‘ >> ~/.bash_profile

step.30
次のパスの設定です。
echo ‘export PATH=”$PATH:/opt/mssql-tools/bin”‘ >> ~/.bashrc

step.31
最後にシェルを実行して終了です。
source ~/.bashrc

Complete!!
お疲れ様でした。
これで晴れてMicrosoftのSQL Serverのインストール及び環境設定は完了です。
ナマケモノ君。出来たかな?
はい!。出来ました。
ふくろう先生、ありがとうございました。
コーポレートサイトhttps://www.rin-tech.netを開設しました。
どうぞ、よろしくお願いいたします。

コメント