
PHPのインストールする方法ってどうやるのかな?
設定方法も分からないや。
そうだ!ふくろう先生に聞いてみよう。
ふくろう先生。こんにちは。
PHPをインストールする方法ってどうやればいいですか?
設定方法も分からないので教えて下さい。
ナマケモノ君。こんにちは!
今回は、PHPをインストール方法と環境設定だね。
わかったよ。
次の手順に従っていけば、出来るよ。
今回の最終目標
- PHPのインストールを完了させて標準的な設定を行います。
※今回は、敢えてDockerを使用せずにインストールしています。
用意するもの
- CentOS7 、ApacheがインストールされているPC(Server)を1台。
概要
- PHPをインストールします。
(※Version8) - Composerをインストールします。
(※Version2.5) - PHP の初期設定を行います。
(Exmentの仕様に従った設定も含めます)
作業手順
CentOSのインストールが、まだの方はこちらを参照して下さい。![]()
Apacheのインストールが、まだの方はこちらを参照して下さい。![]()
step.1
Remiに必要なEPELのインストールして下さい。
yum -y install https://dl.fedoraproject.org/pub/epel/epel-release-latest-7.noarch.rpm

step.2
Remiレポジトリの構成パッケージをインストールして下さい。
yum -y install https://rpms.remirepo.net/enterprise/remi-release-7.rpm

step.3
yum-utilsパッケージをインストールして下さい。
yum -y install yum-util

step.4
PHP8.0のパッケージのみ有効にして下さい。
yum-config-manager –disable ‘remi-php*’
yum-config-manager –enable ‘remi-php80’

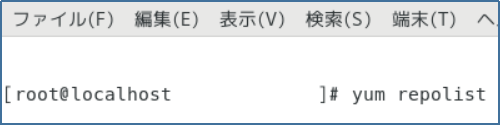
step.5
レポジトリーの一覧を表示して確認して下さい。
yum repolist
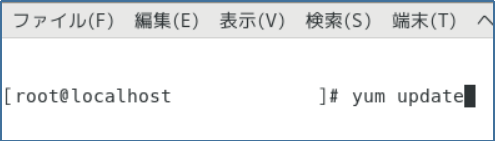
step.6
全てのパッケージをアップデートして下さい。
yum update
step.7
PHP関係で使用するパッケージをインストールして下さい。
yum -y install php php-cli php-common php-mbstring php-mysqli php-dom php-gd php-zip php-sodium

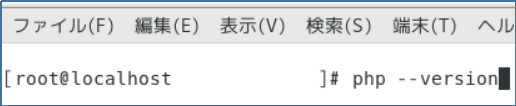
step.8
PHPのバージョンの確認して下さい。
yum –version
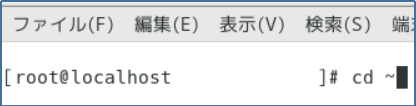
step.9
カレントディレクトリの変更して下さい。
cd ~
step.10
composerのインストーラーをダウンロードして下さい。
php -r “copy(‘https://getcomposer.org/installer’, ‘composer-setup.php’);”

step.11
composerのインストールして下さい。
php composer-setup.php

step.12
composerのインストーラーを削除して下さい。
php -r “unlink(‘composer-setup.php’);”

step.13
『composer.phar』を『/usr/local/bin』へ移動して下さい。
mv composer.phar /usr/local/bin/composer

step.14
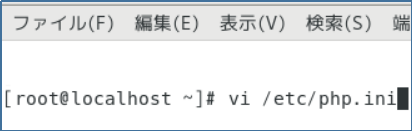
『php.ini』設定ファイルを開して下さい。
vi /etc/php.ini
step.15
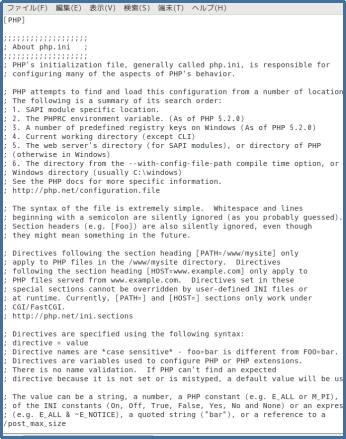
『php.ini』が表示されます。
step.16
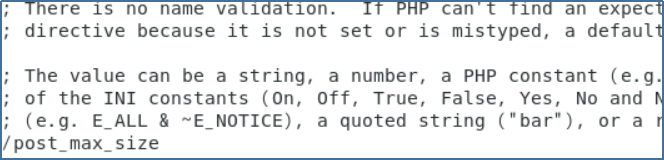
『post_max_size』のサイズを変更したいので、
『/post_max_size』と入力後に『enter』を押下して下さい。
『post_max_size』を検索してくれます。
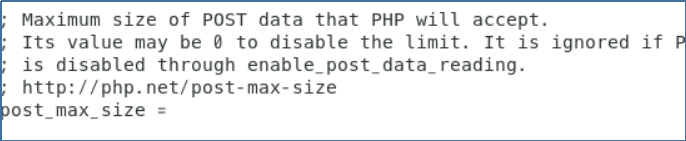
step.17
『post_max_size=』の『=』までカーソルを移動して『x』を数回押下して下さい。
最終的に『post_max_size=』になるようにして下さい。
step.18
『post_max_size=』の『=』までカーソルを移動して『i』を押下して挿入モードにして下さい。その後『20M』と入力して下さい。
最終的に『post_max_size=20M』になるようにして下さい。
step.19
『upload_max_filesize=』の『=』までカーソルを移動して『x』を数回押下して下さい。
最終的に『upload_max_filesize=』になるようにして下さい。
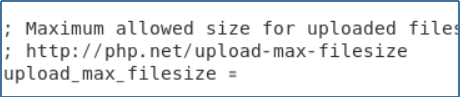
step.20
『upload_max_filesize=』の『=』までカーソルを移動して『i』を押下して挿入モードにして下さい。その後『20M』と入力して下さい。
最終的に『upload_max_filesize=20M』になるようにして下さい。
step.21
『memory_limit=』の『=』までカーソルを移動して『x』を数回押下して下さい。
最終的に『memory_limit=』になるようにして下さい。

step.22
『memory_limit=』の『=』までカーソルを移動して『i』を押下して挿入モードにして下さい。その後『512M』と入力して下さい。
最終的に『memory_limit=512M』になるようにして下さい。
step.23
『max_execution_time=』の『=』までカーソルを移動して『x』を数回押下して下さい。
最終的に『max_execution_time=』になるようにして下さい。
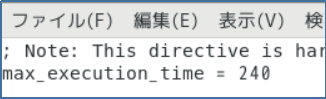
step.24
『max_execution_time=』の『=』までカーソルを移動して『i』を押下して挿入モードにして下さい。その後『240』と入力して下さい。
最終的に『max_execution_time=240』になるようにして下さい。
step.25
『max_input_vars=』の『=』までカーソルを移動して『x』を数回押下して下さい。
最終的に『max_input_vars=』になるようにして下さい。
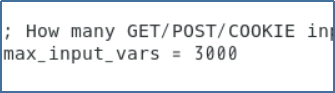
step.26
『max_input_vars=』の『=』までカーソルを移動して『i』を押下して挿入モードにして下さい。その後『3000』と入力して下さい。
最終的に『max_input_vars=3000』になるようにして下さい。
step.27
保存するために、『esc』キーを押下してコマンドモードに戻してから
『:wq!』を入力して『enter』キー押下して下さい。
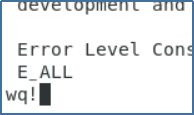
Complete!!
お疲れ様でした。
これで晴れてPHPのインストール及び環境設定は完了です。
ナマケモノ君。出来たかな?
はい!。出来ました。
ふくろう先生、ありがとうございました。
コーポレートサイトhttps://www.rin-tech.netを開設しました。
どうぞ、よろしくお願いいたします。


コメント