
WebサーバーのApacheをインストールする方法ってどうやるのかな?
設定方法も分からないや。
そうだ!ふくろう先生に聞いてみよう。
ふくろう先生。こんにちは。
WebサーバーのApacheをインストールする方法ってどうやればいいですか?
設定方法も分からないので教えて下さい。
ナマケモノ君。こんにちは!
今回は、Apacheをインストール方法と環境設定だね。
わかったよ。
次の手順に従っていけば、出来るよ。
今回の最終目標
- Apacheのインストールを完了させて標準的な設定を行います。
用意するもの
- CentOSがインストールされたPC(Server)を1台。
概要
- Apacheをインストールします。
- 自動起動の設定をします。
- ファイアウォールの設定します。
作業手順
CentOS7 のインストールが、まだの方はこちらを参照して下さい。![]()
step.1
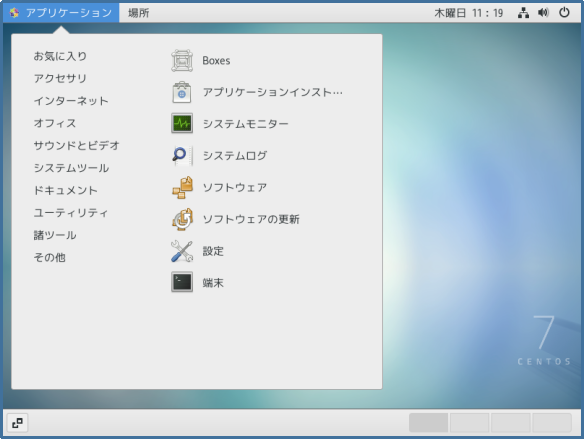
CentOSのツールバーの『アプリケーション』を選択して下さい。
step.2
『システムツール』を選択すると右列に表示されるので、一番下の『端末』を選択して下さい。
step.3
『ターミナル』が表示されます。

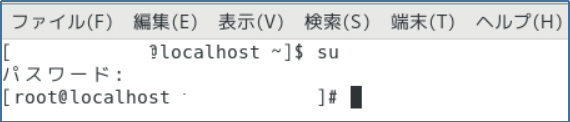
step.4
『su』を入力後、『エンター』押下して下さい。
その後、パスワードを聞いてくるので、CentOSをインストールした時のパスワードを入力して下さい。
step.5
『su』を入力後、『エンター』押下して下さい。
その後、パスワードを聞いてくるので、CentOSをインストールした時のパスワードを入力して下さい。
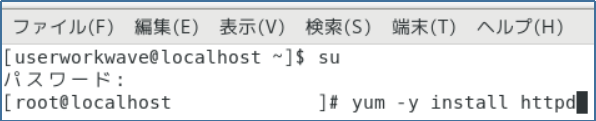
step.6
Apacheをインストールするコマンド『yum -y install httpd』を入力して下さい。
step.7
Apacheを自動起動する設定するコマンド『systemctl enable httpd.service』を入力して下さい。

step.8
Apacheを起動するコマンド『service httpd start』を入力して下さい。

step.9
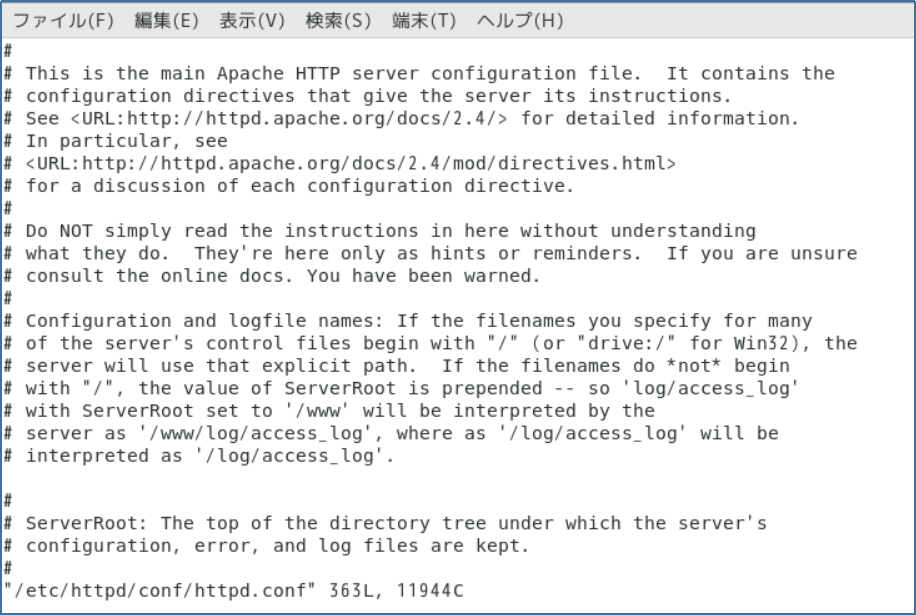
Apacheの設定ファイルを編集するコマンド『vi /etc/httpd/conf/httpd.conf』を入力して下さい。

step.10
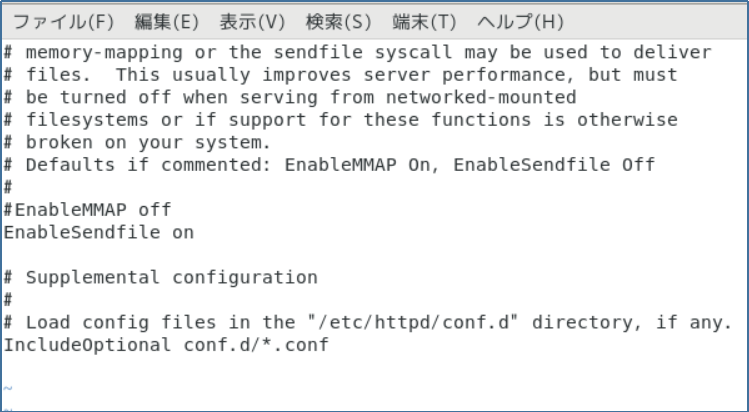
『httpd.conf』が表示されます。
step.11
『shift』+『g』を押下して末尾まで移動して下さい。
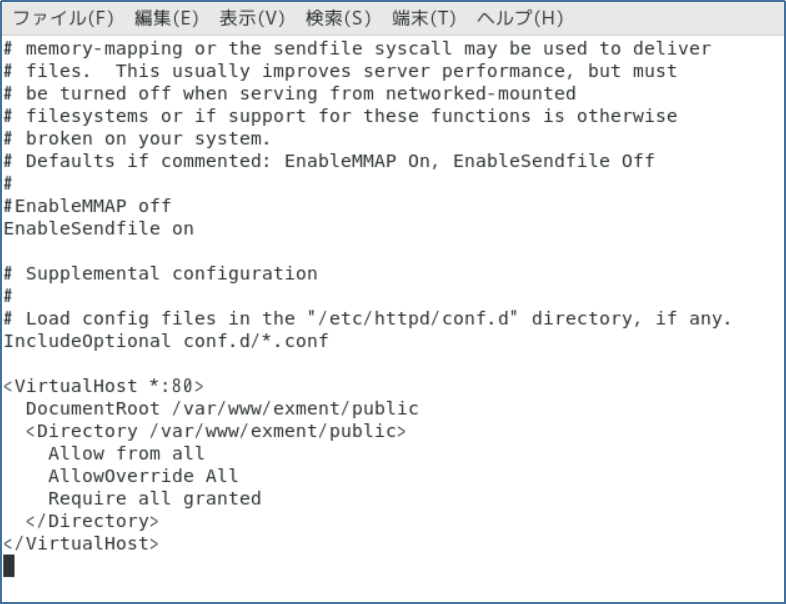
step.12
『o』を押下してから下記の内容を追記して下さい。
<VirtualHost *:80>
DocumentRoot /var/www/exment/public
<Directory /var/www/exment/public>
Allow from all
AllowOverride All
Require all granted
</Directory>
</VirtualHost>
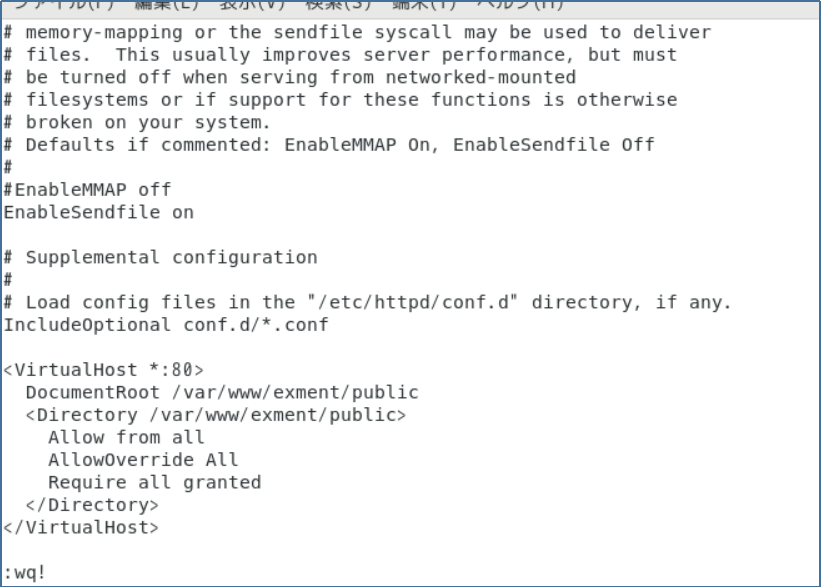
step.13
保存するために、『esc』キーを押下してコマンドモードに戻してから
『:wq!』を入力して『enter』キー押下して下さい。
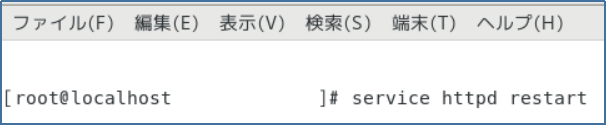
step.14
Apacheを再起動するコマンド『service httpd restart』を入力して下さい。
step.15
ファイアウォールを開始するコマンド『systemctl start firewalld』を入力して下さい。

step.16
ファイアウォールの自動起動するコマンド『systemctl enable firewalld』を入力して下さい。

step.17
次のコマンドでファイアウォールの『http』と『https』のサービスを永続的に許可します。
『firewall-cmd –add-service=http –zone=public –permanent』
『firewall-cmd –add-service=https –zone=public –permanent』


step.18
ファイアウォールをリロードするコマンド『systemctl reload firewalld』を入力して下さい。

step.19
SELinuxの設定ファイルを編集するコマンド『vi /etc/selinux/config』を入力して下さい。

step.20
『config』が表示されます。
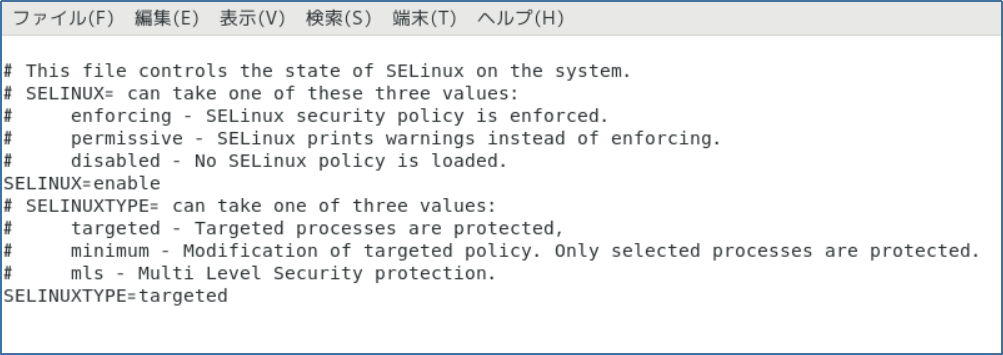
step.21
『SELINUX=enable』の『=』までカーソルを移動し、『x』を6回押下して『SELINUX=』になるようにして下さい。
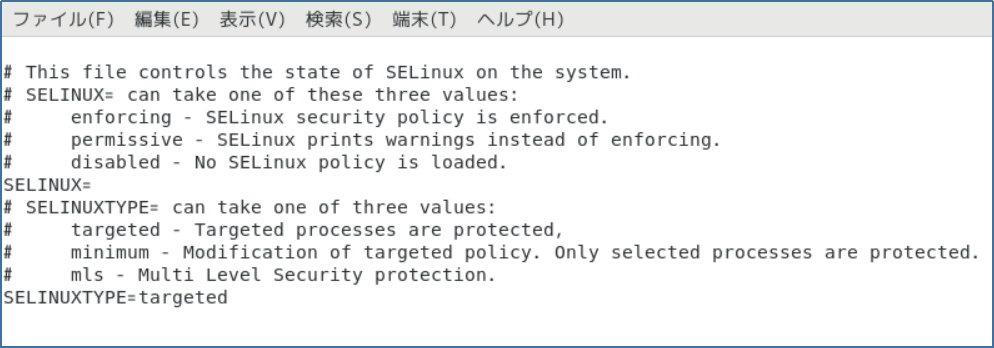
step.22
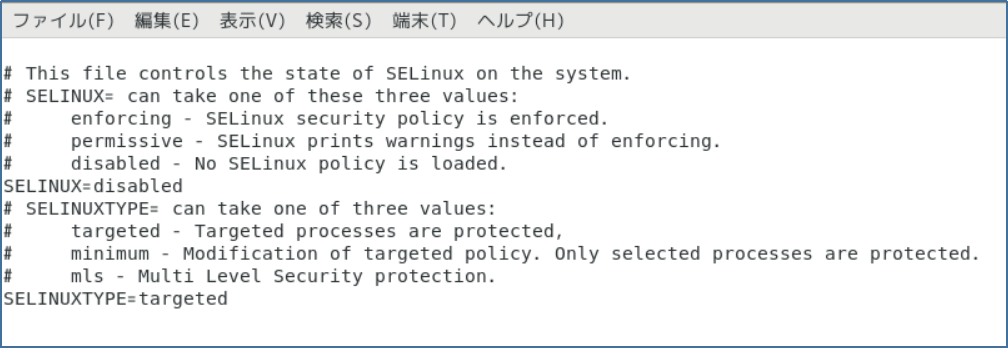
『SELINUX=』の『=』までカーソルを移動し、『i』を押下して編集モードにして下さい。
その後『disabled』と入力して下さい。
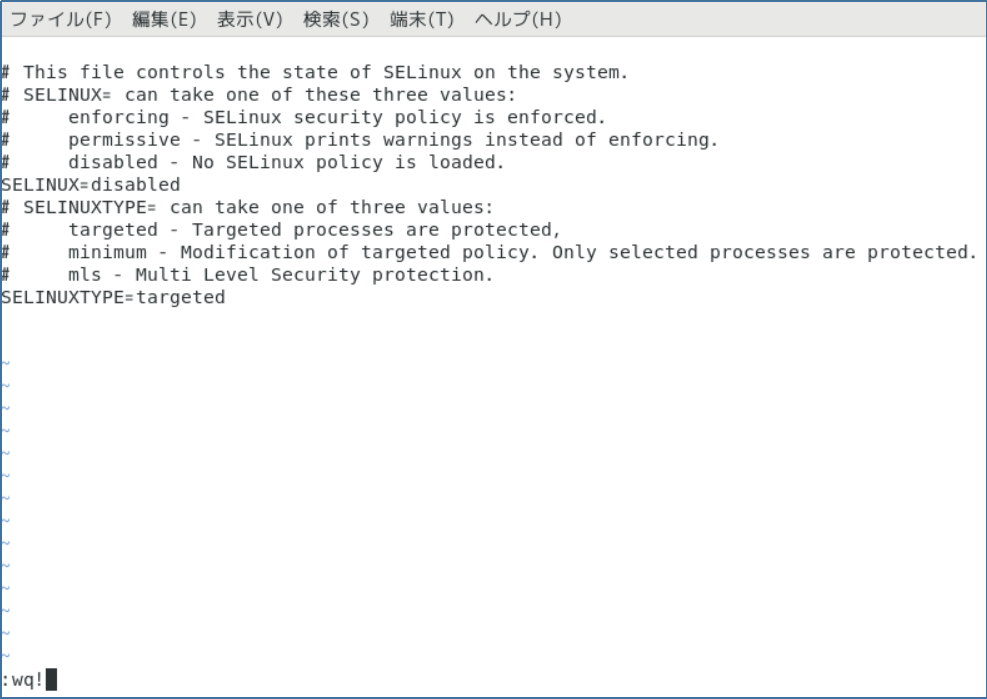
step.23
保存するために、『esc』キーを押下してコマンドモードに戻してから
『:wq!』を入力して『enter』キー押下して下さい。
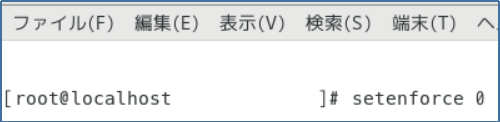
step.24
SELinuxを無効化するコマンド『setenforce 0』を入力して下さい。
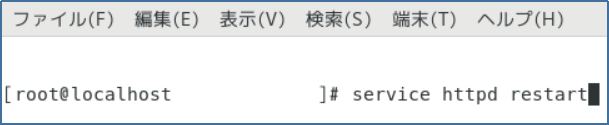
step.25
Apacheを再起動するコマンド『service httpd restart』を入力して下さい。
Complete!!
お疲れ様でした。
これで晴れてApacheのインストール及び設定は完了です。
ナマケモノ君。出来たかな?
はい!。出来ました。
ふくろう先生、ありがとうございました。
コーポレートサイトhttps://www.rin-tech.netを開設しました。
どうぞ、よろしくお願いいたします。

コメント