VMの共有フォルダーのインストールする方法ってどうやるのかな?
設定方法も分からないや。
そうだ!ふくろう先生に聞いてみよう。
ふくろう先生。こんにちは。
VMの共有フォルダーをインストールする方法ってどうやればいいですか?
設定方法も分からないので教えて下さい。
ナマケモノ君。こんにちは!
今回は、VMの共有フォルダーをインストール方法と環境設定だね。
わかったよ。
次の手順に従っていけば、出来るよ。
今回の最終目標
- VMの共有フォルダーのインストールを完了させて標準的な設定を行います。
用意するもの
- CentOSのバージョン7がインストールされているPC(Server)を1台。
概要
- VMの共有フォルダーをインストールします。
- インストールしたVMの共有フォルダーの初期設定を行います。
作業手順
CentOSのインストールが、まだの方はこちらを参照して下さい。
step.1
まず、スーパーユーザーに変更してね。

step.2
パスワードを聞いてくるのでパスワードを入力してね。

step.3
念のための処理だよ。

step.4
対象ファイルがいた場合は下記画面が表示されるよ。

step.5
yumを使用してupdateしてね。

step.6
updateの対象があると下記画面が表示されるので、「y」で対応してね。

step.7
そうするとダウンロードが開始されるよ。

step.8
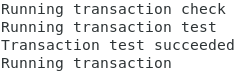
updateの開始だね。

step.9
uodateの処理が開始されたよ。
step.10
updateの処理が完了すると下記画面のようになるよ。

step.11
updateしたので再起動してね。

step.12
次は、kernel-headresのインストールだよ。

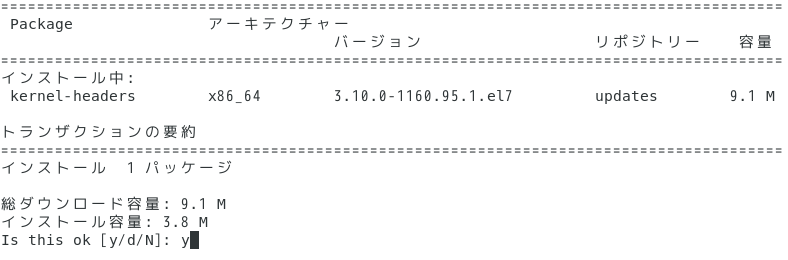
step.13
kernel-headresのインストールの確認画面に「y」で受け答えてね。
step.14
kernel-headresのインストールが完了すると下記画面のようになるよ。

step.15
次は、kernel-develのインストールだよ。

step.16
kernel-develのインストールの確認画面に「y」で受け答えてね。

step.17
kernel-develのインストールが完了すると下記画面のようになるよ。

step.18
さっ次は、gccのインストールだよ。

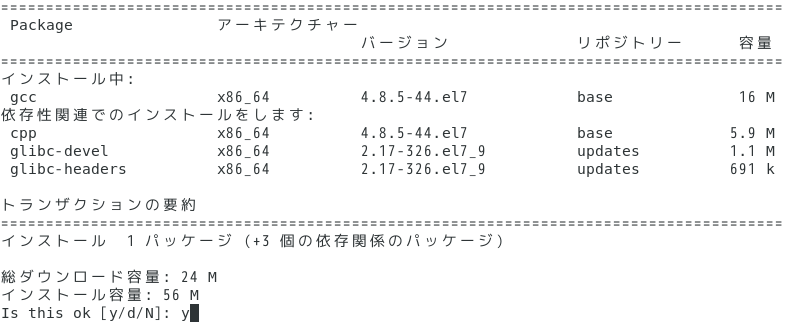
step.19
gccのインストールの確認画面も「y」で受け答えてね。
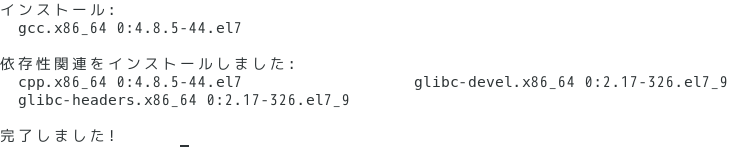
step.20
gccのインストールが完了すると下記画面のようになるよ。
step.21
最後は、makeのインストールだよ。

step.22
今回は、makeは大丈夫だね。
もし、確認画面が表示されたら今までと同じ対応で大丈夫だよ。

step.23
kernelのバージョンが一致しているか確認するよ。

step.24
バージョンの一覧が表示されたね。
みんな同じだから大丈夫だね。

step.25
念のため再度rebootするよ。

step.26
共有フォルダー用のCDをセットするよ。
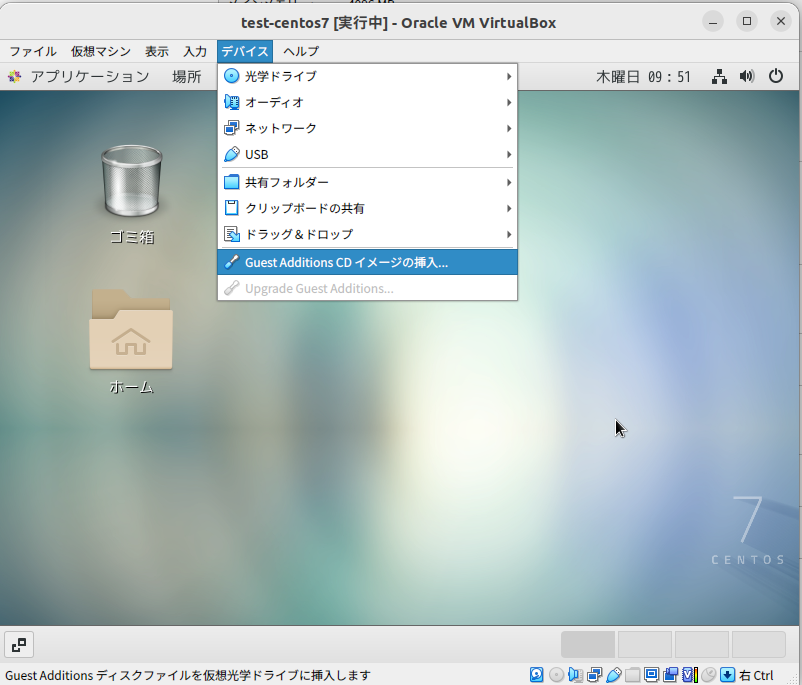
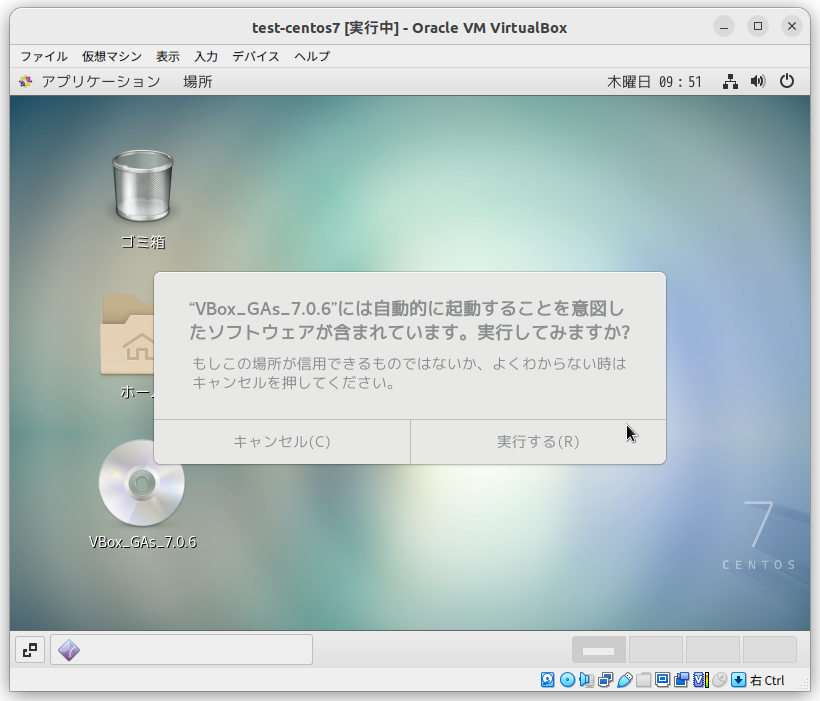
step.27
下記のような画面が表示されるので「実行する」ボタンを押下してね。
step.28
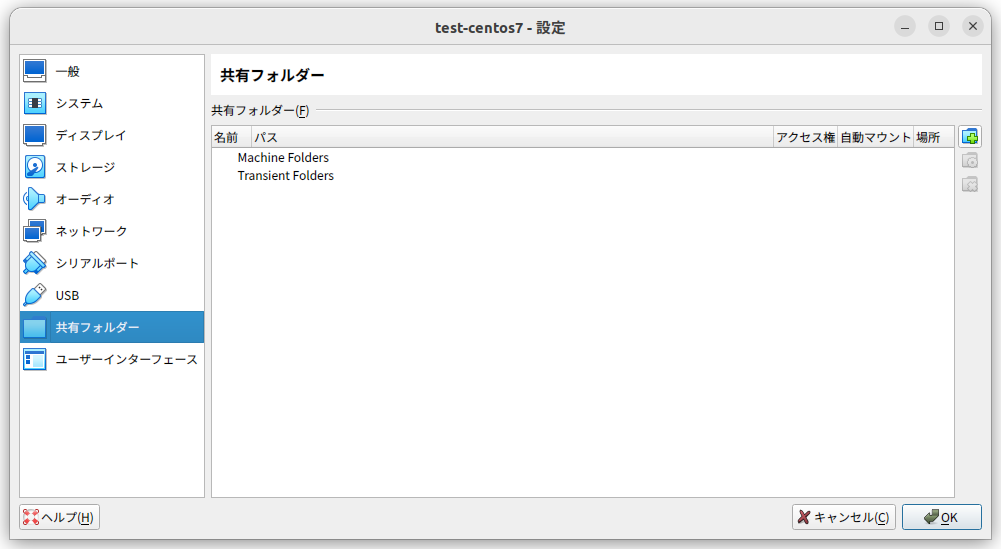
今度は、共有フォルダーを作成するよ。
まず、VMのメニューバーから
『デバイス』→『共有フォルダー』→『共有フォルダーの設定』と
たどっていくと下記画面が表示されるよ。
step.29
表示された画面の右側の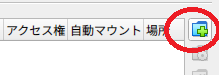 をクリックしてね。
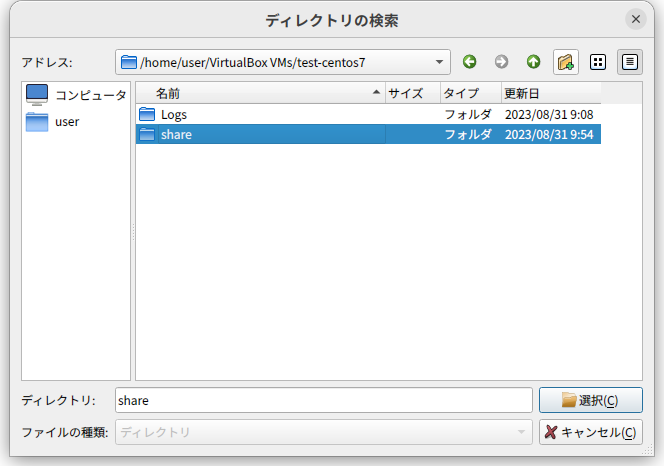
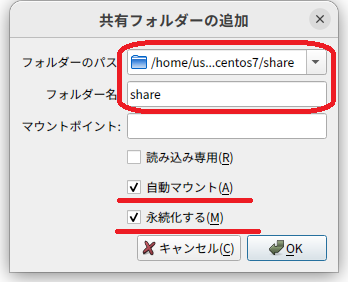
step.30
共有フォルダーの追加画面が表示されるので任意のフォルダーを指定してね。
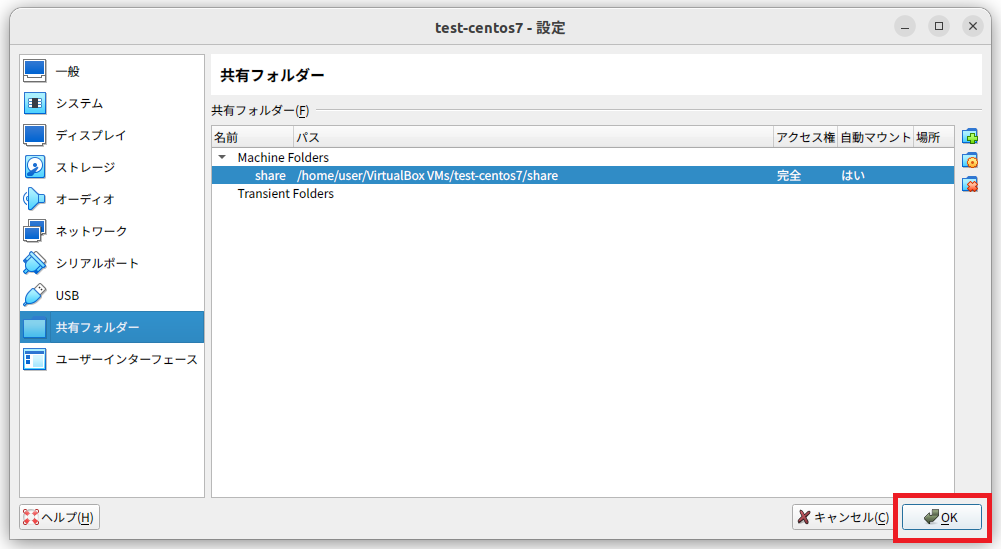
step.31
画面が戻って下記画面のようになっていると成功だよ。
step.32
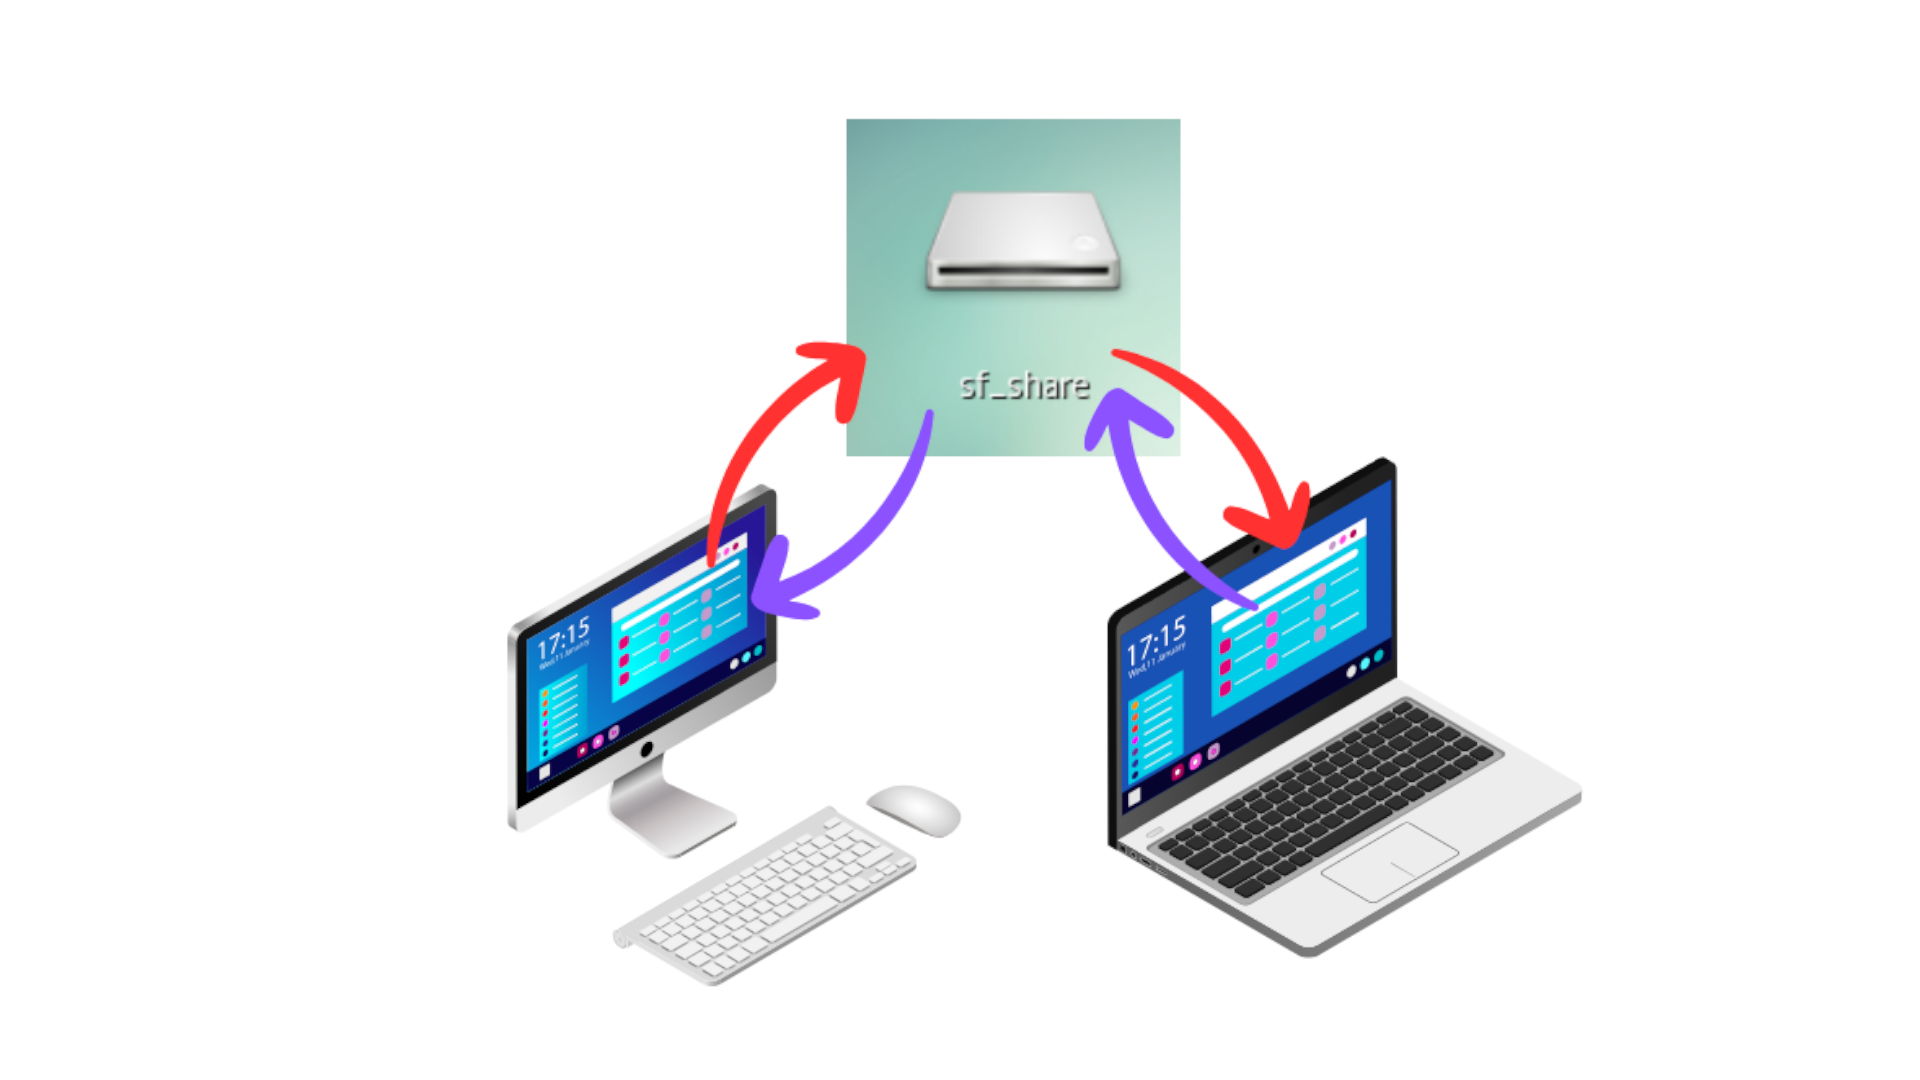
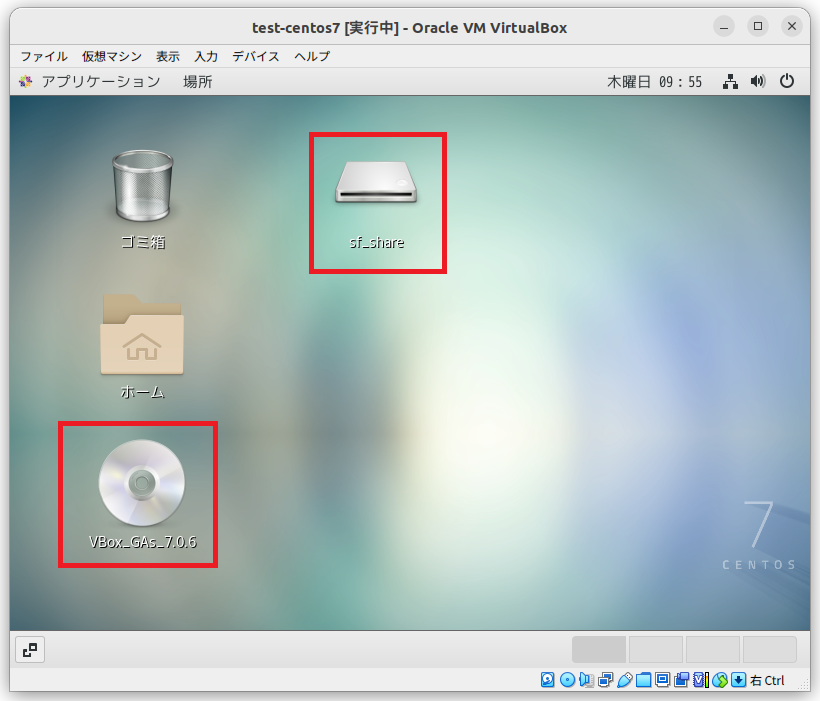
VM上のGuestOS(今回はCentOS)の画面上に下記のようにフォルダーが表示されれば成功だよ。
CDイメージを取り出すので画面上の「VBox_GAs_XXX」アイコンを右クリックしてね。
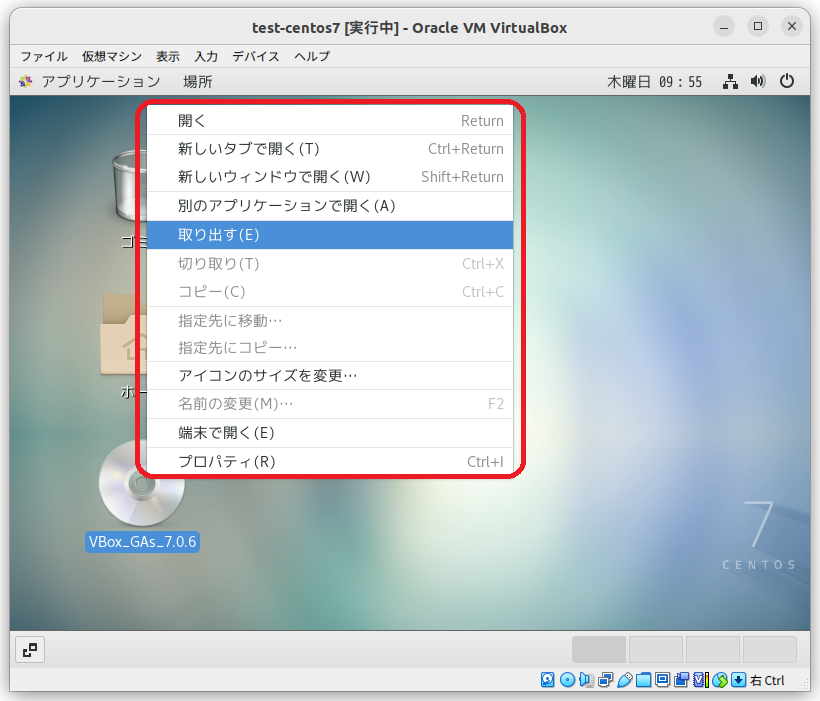
step.33
ポップアップのメニュー画面が表示されるので、「取り出す(E)」を選択してね。
step.34
さっ 最後に共有フォルダーを使用できるユーザーを追加するよ。

step.35
成功すると下記画面のようなメッセージが表示されます。

Complete!!
お疲れ様でした。
これで晴れてVMwareの共有フォルダーのインストール及び環境設定は完了です。
HostOSとGuestOSで行き来できるフォルダーが出来たので効率よく作業が進むはずだよ。
ナマケモノ君。出来たかな?
はい!。出来ました。
ふくろう先生、ありがとうございました。
コーポレートサイトhttps://www.rin-tech.netを開設しました。
どうぞ、よろしくお願いいたします。

コメント