
OpenRPAを見つけるまでのAIとのやり取りを取り纏めました。
もし宜しければ、そちらもどうぞ。
OpenRPAインストールする方法ってどうやるのかな?
そうだ!ふくろう先生に聞いてみよう。
ふくろう先生。こんにちは。
OpenRPAをインストールする方法ってどうやればいいですか?
分からないので教えて下さい。
ナマケモノ君。こんにちは!
今回は、OpenRPAをインストール方法だね。
わかったよ。
次の手順に従っていけば、出来るよ。
今回の最終目標
- OpenRPAのインストールを完了させて標準的な設定を行います。
用意するもの
- Win10がインストールされているPCを1台。
概要
- OpenRPAをインストールします。
作業手順
step.1
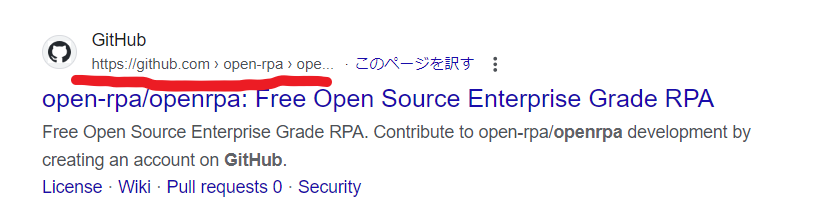
最初にgoogle先生にOpenRPA GitHub ダウンロード と問い合わせてね。

step.2
一覧の中からGitHubを選択してクリックするよ。
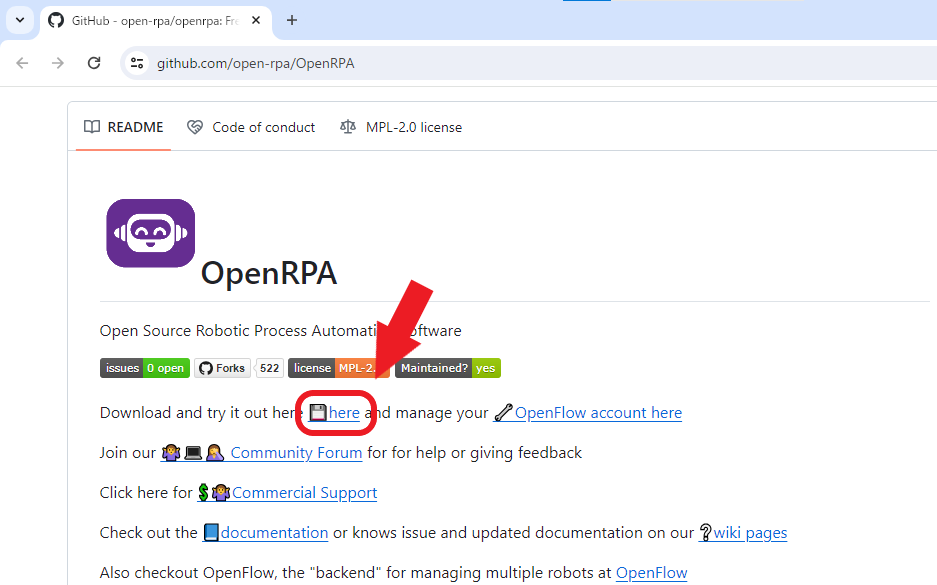
step.3
OpenRPA用のサイトが表示されます。
下へスクロールしてね。

step.4
「Download and try it out here ・・・」と表示されるので、「here」をクリック。
step.5
ダウンロードが完了すると「OpenRPA.msi」があるはずです。
※ダウンロード先は、ブラウザーの設定によって違いますが、概ね「ダウンロードフォルダー」
ブラウザーが拡張子が表示されない使用になっている場合は「OpenRPA」です。

step.6
「OpenRPA.msi」を実行。
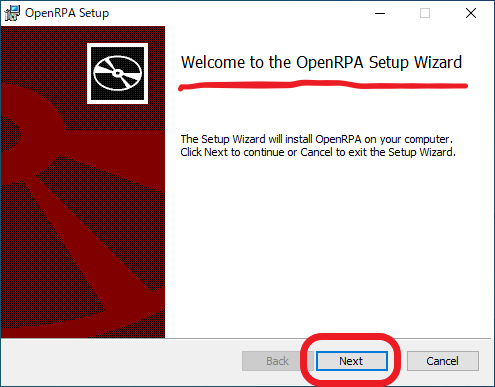
step.7
「Welcome to the OpenRPA Setup Wizard」が表示されたら「Next」ボタンをクリック。
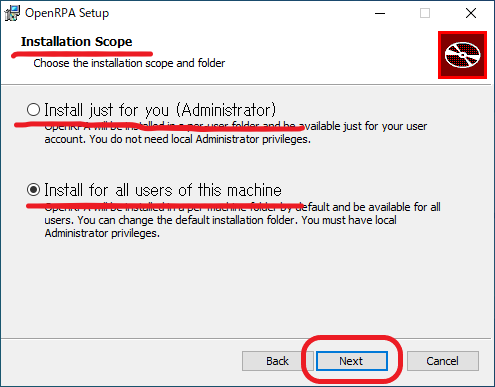
step.8
「Installation Scope」で
・Install just for you (Administrator)
・Install for all users of this machine
いずれかを選択して下さい。
問題なければ、「Install for all users of this machine」を選択。
※ちなみに
上 → ログインしているユーザーのみ
下 → ログインできるユーザー全て
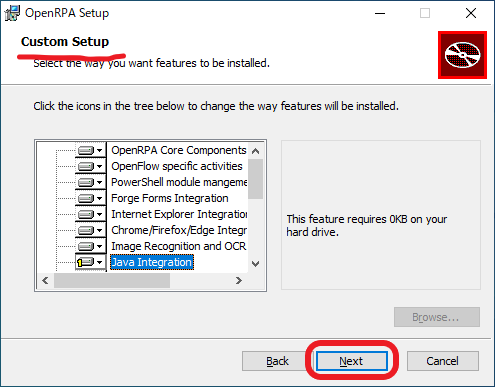
step.9
「Custom Setup」は、「Next」ボタンをクリック。
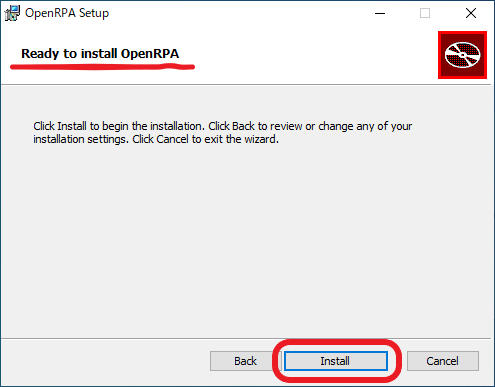
step.10
「Ready to install OpenRPA」で「Install」ボタンをクリック。
ここからが、本当のインストールの開始。
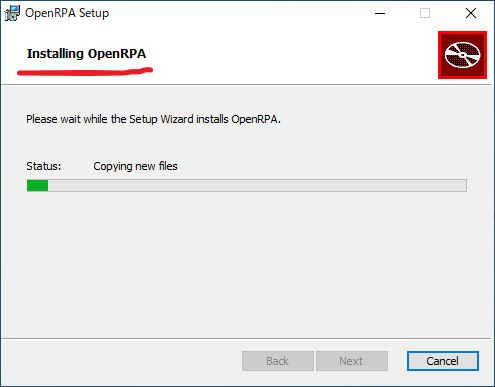
step.11
「Installing OpenRPA」は、そのまま。
step.12
「Completed the OpenRPA Setup Wizard」の「Finish」ボタンをクリック。

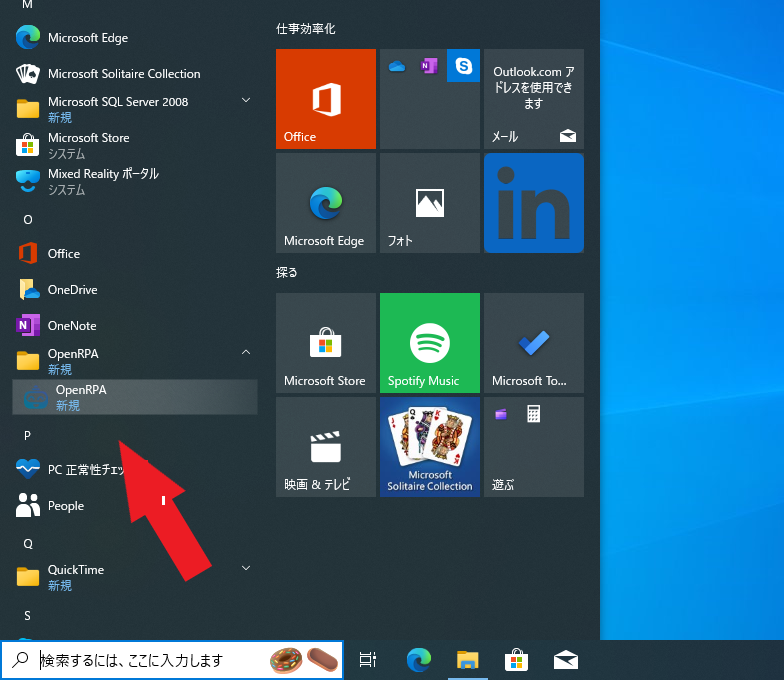
step.13
インストールが終了したので
キーボードのWindowsボタンをクリック。
「OpenRPA」を見つけてクリック。
step.14
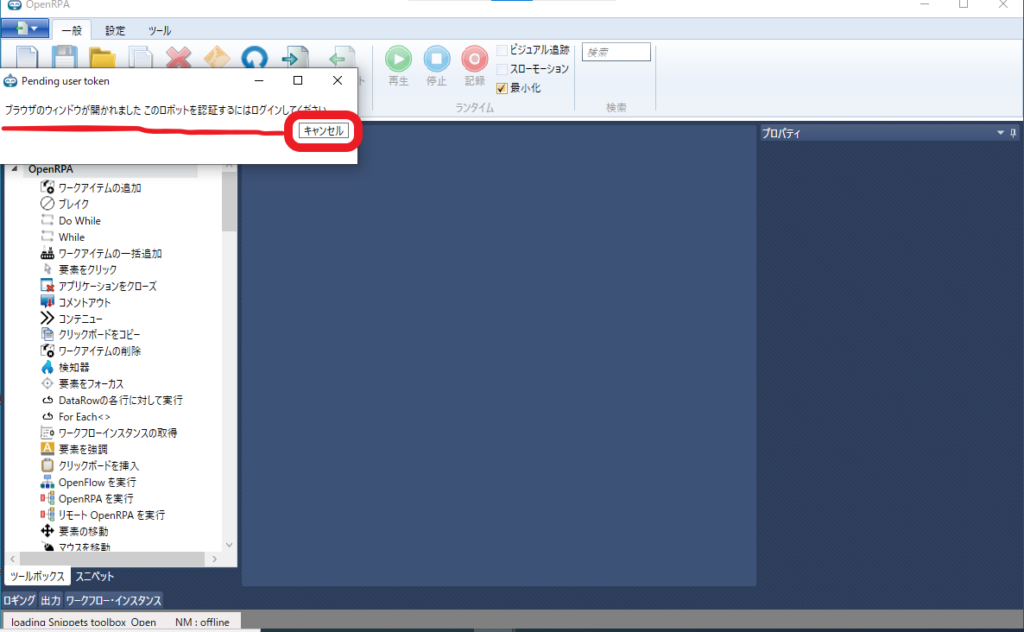
暫く待つとOpenRPAの画面が表示されます。
が、しかし!
「ブラウザのウィンドウが開かれました。このロボットを認証するためにはログインして下さい」
が表示されます。
「キャンセル」ボタンをクリック。
step.15
一旦、OpenRPAが閉じると思います。
その後、「\OpenRPA\settings.json」ファイルをメモ帳等で開いて下さい。
※環境によって異なりますが、通常「C:\Users\<ログインしているユーザー>」の配下です。
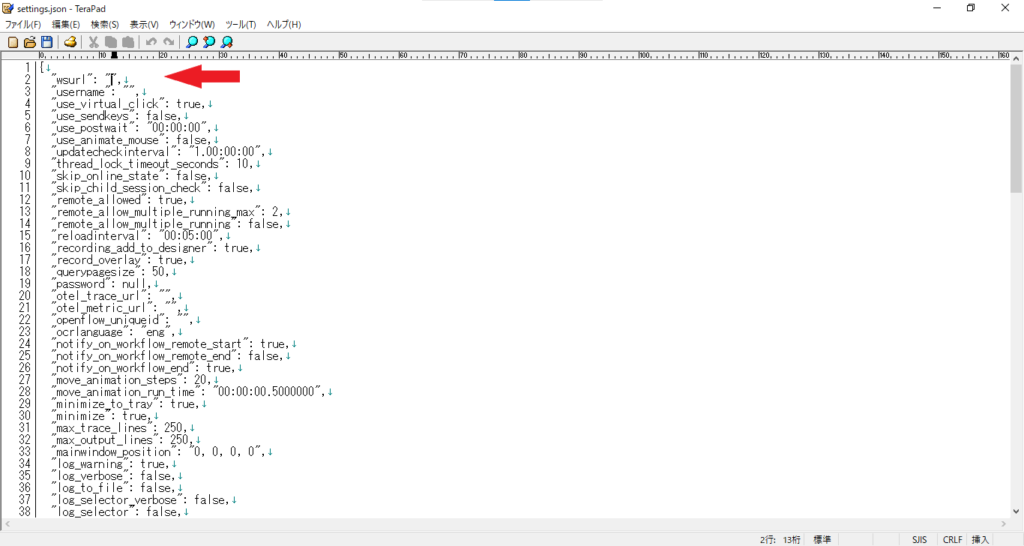
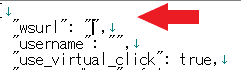
step.16
先頭行が「”wsurl”: “”,」になるように変更して下さい。
step.17
再度、キーボードのWindowsボタンをクリック。
「OpenRPA」を見つけてクリック。
今度は、問題なく起動できたはずです。
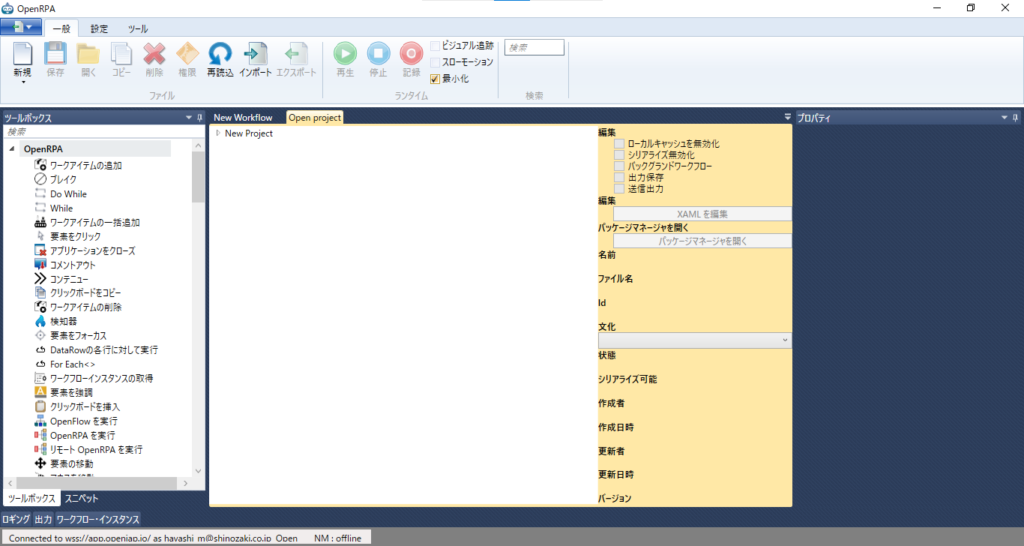
Complete!!
お疲れ様でした。
これで晴れてOpenRPAのインストールと環境設定は完了です。
ナマケモノ君。出来たかな?
はい!。出来ました。
ふくろう先生、ありがとうございました。
コーポレートサイトhttps://www.rin-tech.netを開設しました。
どうぞ、よろしくお願いいたします。


コメント