GIMPインストールする方法ってどうやるのかな?
そうだ!ふくろう先生に聞いてみよう。
ふくろう先生。こんにちは。
GIMPをインストールする方法ってどうやればいいですか?
分からないので教えて下さい。
ナマケモノ君。こんにちは!
今回は、GIMPをインストール方法だね。
わかったよ。
次の手順に従っていけば、出来るよ。
今回の最終目標
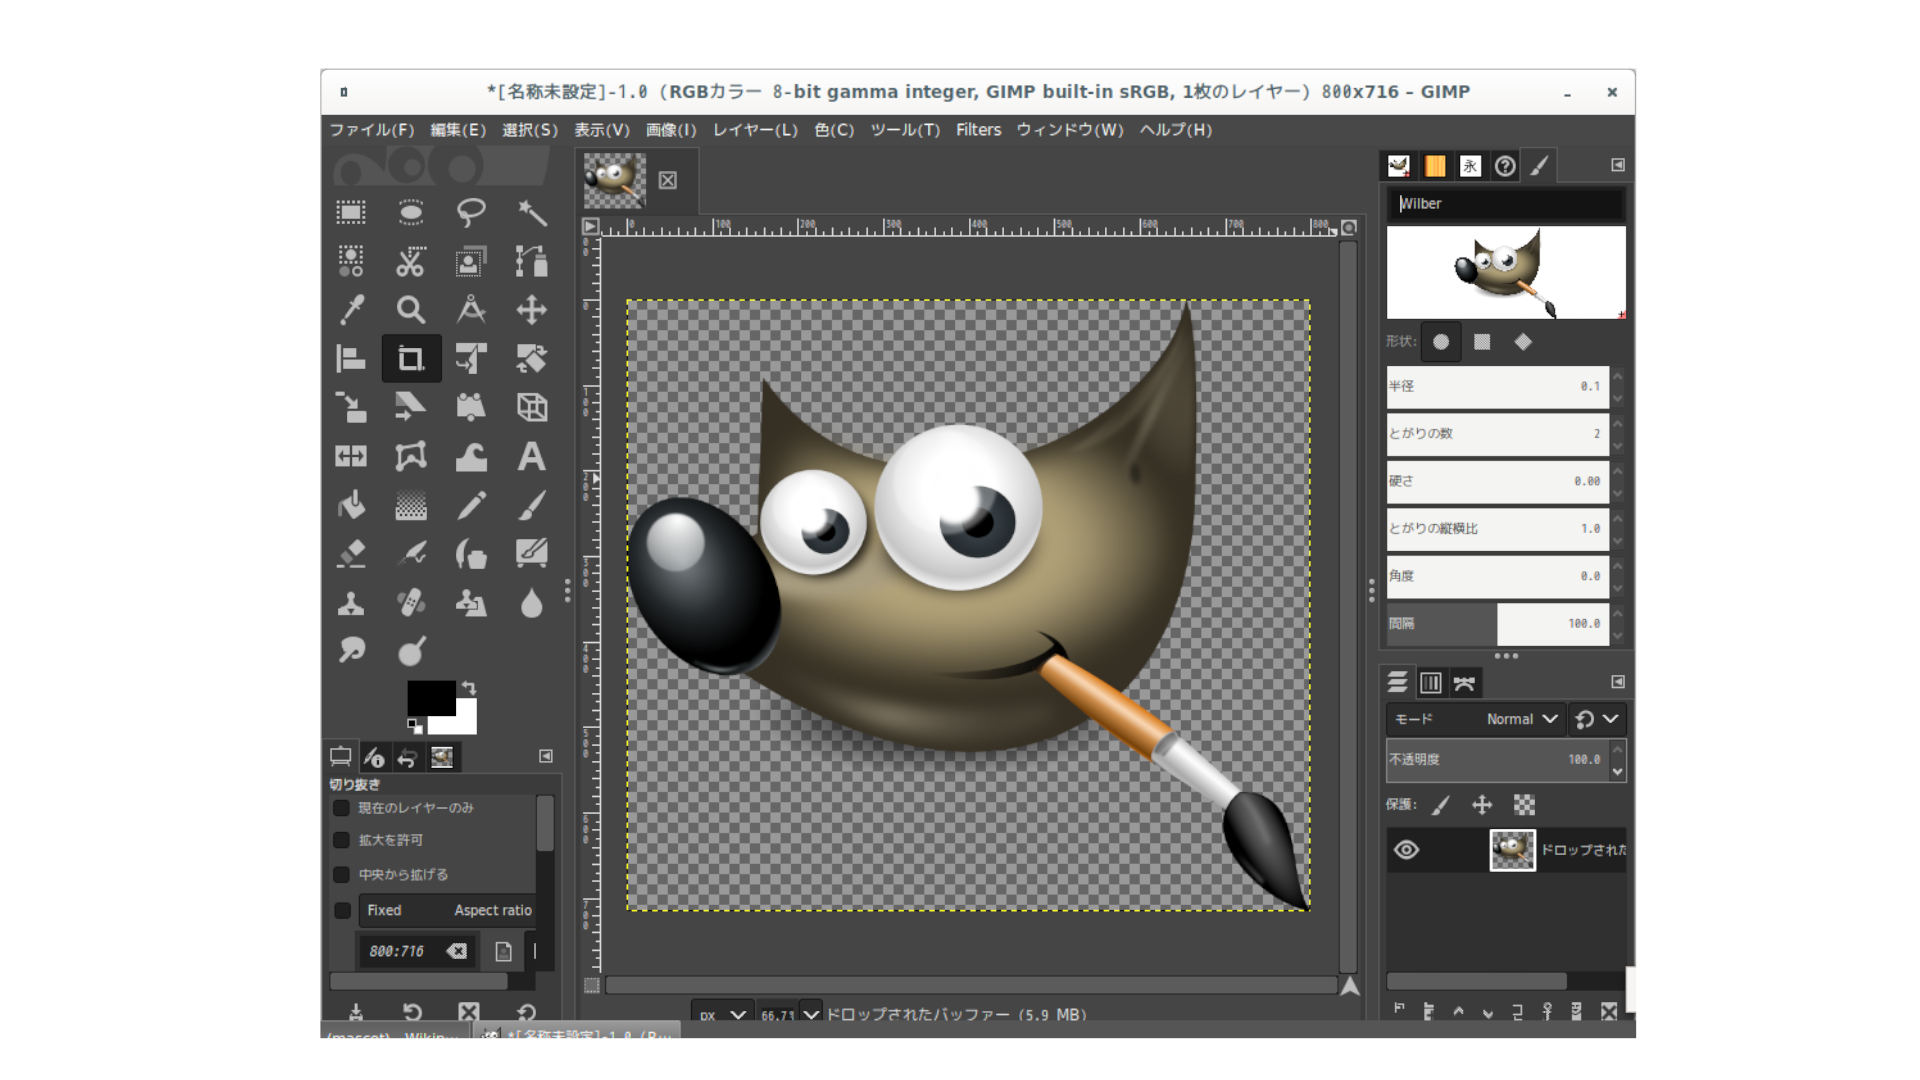
- GIMP( 2.10.34)のインストールを完了させて標準的な設定を行います。
用意するもの
- Win10がインストールされているPC(Server)を1台。
概要
- GIMP( 2.10.34)をインストールします。
作業手順
step.1
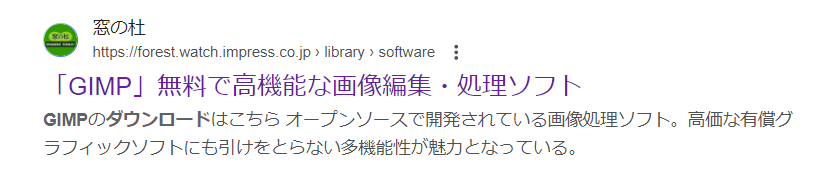
最初にgoogle先生にGIMPのダウンロード先を問い合わせてね。

step.2
今回は、『窓の杜』さんからダウンロードするよ。
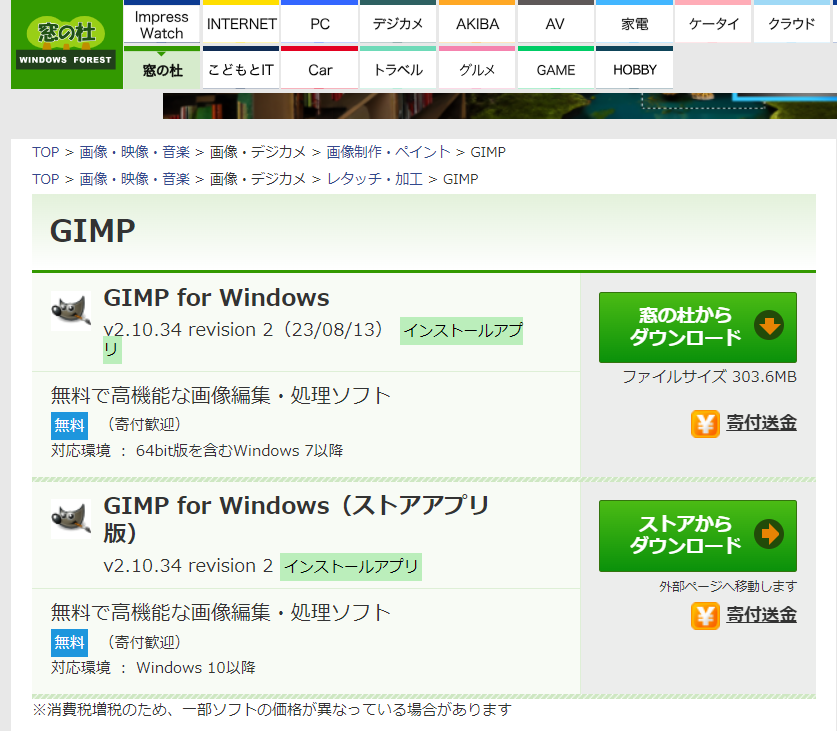
step.3
対象のインストールexeが表示されるので自分の環境にあったものを選択してね。
今回私は、『Win10の64bit対応』のインストールexeを選択したよ。
step.4
ダウンロード先とファイル名を聞いてくるので、適宜自分の環境に合わせてね。
基本このままで問題無いと思うよ。

step.5
exeを実行してね。

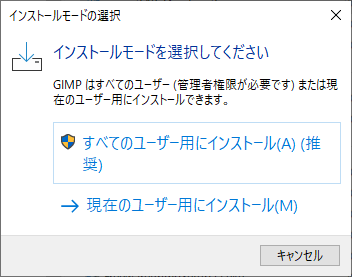
step.6
インストールモードをwin10さんが聞いてくるのでお答えしてね。
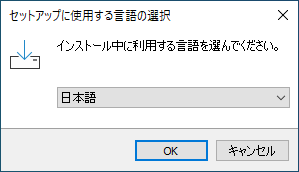
step.7
セットアップ時に使用する言語を聞いてくるので『日本語』を選択したよ。
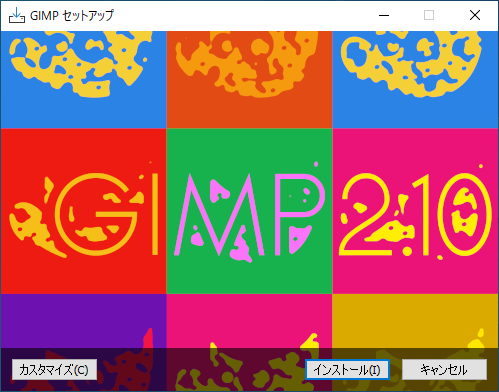
step.8
ようやくセットアップの開始だよ。
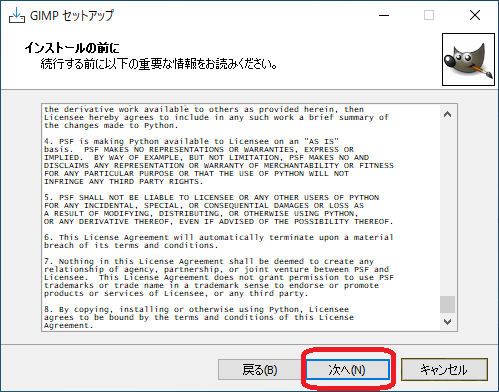
step.9
使用許諾を確認して『次へ』ボタンを押下してね。
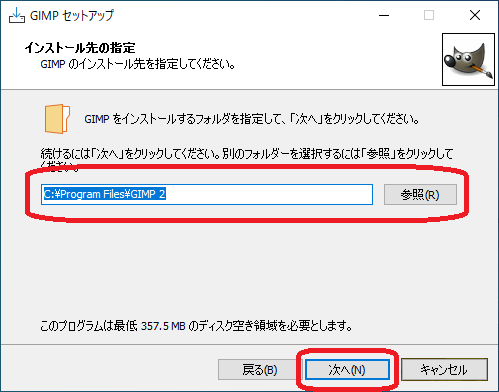
step.10
インストール先を確認してくるので適宜自分の環境に合わせてね。
まっ 普通はこのままで大丈夫だと思うけど。
step.11
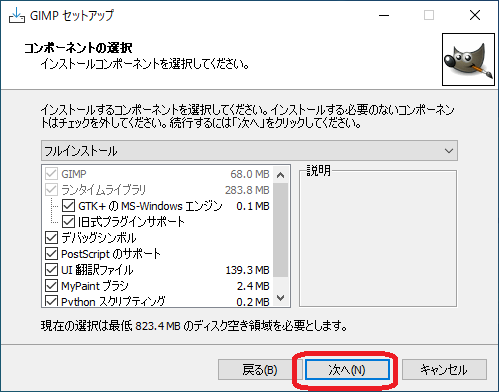
『コンポーネントの選択』画面が表示されるので、必要な対応してね。
普通はこのままでも大丈夫ですよ。
step.12
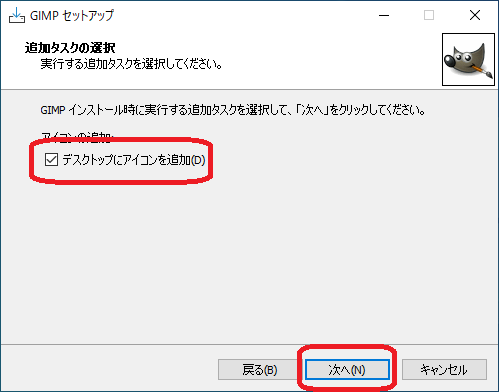
必要に応じて『デスクトップにアイコンを追加』にレ点を入れてね。
step.13
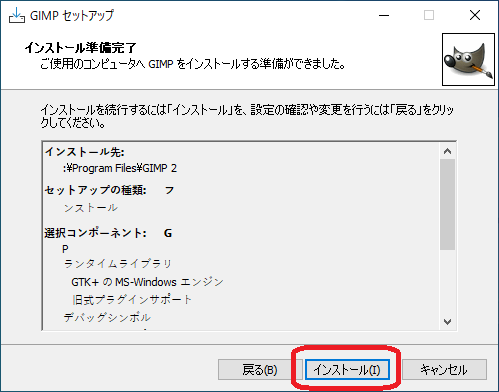
さっ 『インストール』ボタンを押下。
step.14
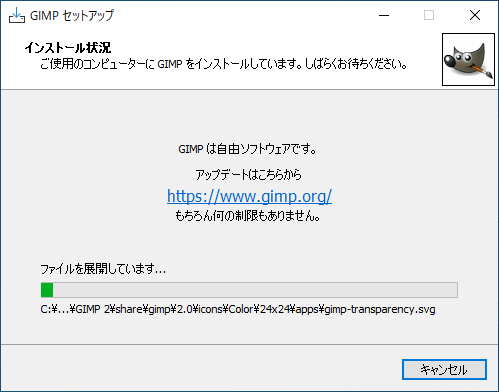
インストール状況が表示されるけど、そのままで大丈夫!
step.15
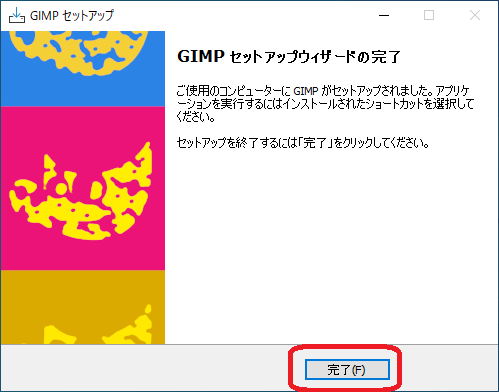
セットアップの完了が表示されたね。『完了』ボタンを押下してね。
step.16
デスクトップにアイコンが追加されたよ。
クリックしてね。

step.17
上手く起動できれば万事OK!
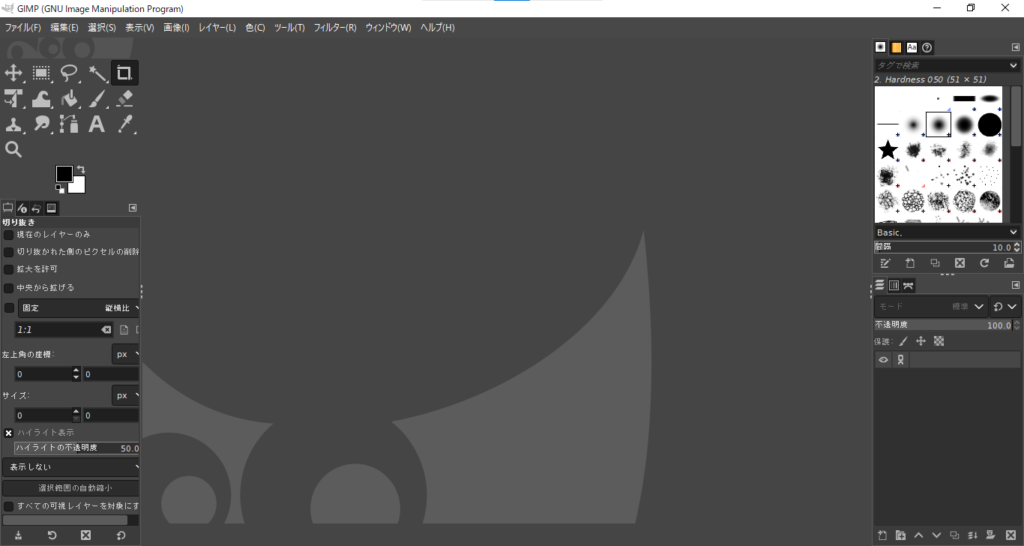
Complete!!
お疲れ様でした。
これで晴れてGIMP( 2.10.34)のインストールは完了です。
ナマケモノ君。出来たかな?
はい!。出来ました。
ふくろう先生、ありがとうございました。
コーポレートサイトhttps://www.rin-tech.netを開設しました。
どうぞ、よろしくお願いいたします。


コメント